


Keeping Those Edges Straight: Tips for a Professional Finish
One of the most common frustrations for beginner crocheters is wavy or uneven edges.
Here are some pro tips to keep your granny squares looking neat and tidy:
● Consistent Tension is Key: This is the golden rule of crochet! Try to keep your yarn
tension even throughout your project. If your stitches are too tight, your fabric will pucker.
If they're too loose, it will look flimsy. Practice makes progress! But for real, we have all
made a wonky square or two, so just keep practicing your tension and you'll get there.
● Count Your Stitches: Especially in the beginning and end of rows, make sure you're
working into the correct stitch and have the right number of stitches. Don't be afraid to
recount if something feels off. You can do that by counting the “v's” as you go if you lose count. I lose count at least once on every project. It is easy to get distracted!
● Mind Your Turning Chains: Your turning chains (the chains you make at the beginning of a row or round) are crucial. Make sure they are consistent in height with your stitches.
Often, the height of your turning chain can determine how straight your edges are.
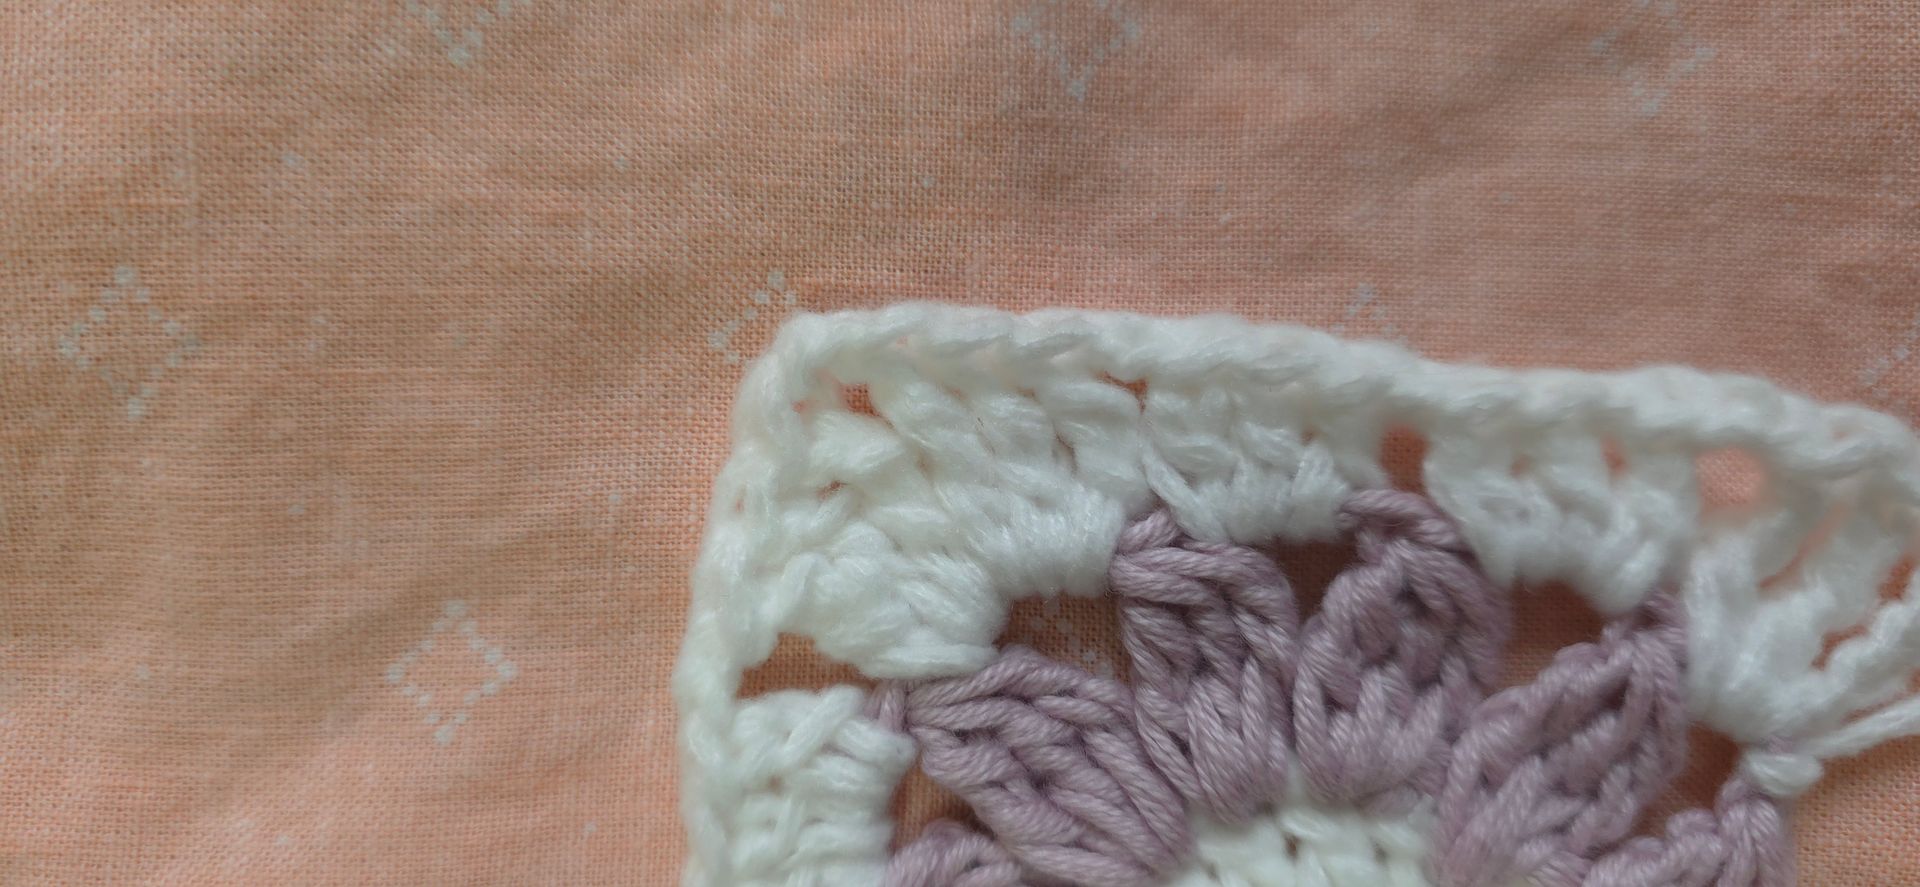
● Practice Your Corner Stitches: For granny squares, the corners are vital for keeping the
square shape. Ensure your corner stitches (e.g., "3 tr, ch 2, 3 tr") are consistent.
● Don't Be Afraid to Undo: It happens to all of us, I promise. If you spot a mistake a few
rows back, don't be afraid to "frog" (undo) your work. It's better to fix it now than to have a slightly off finished project that just bums you out after working on it for so long.
The Magic of Blocking: The Secret to Professional-Looking Crochet
So you've finished your beautiful daisy granny square (or a whole stack of them!). What's next? Blocking!
Blocking is such an important step that can truly transform your crochet projects. I have saved some really questionable projects just with blocking.
Here is what it can do:
● Even out stitches: It helps to make your stitches look more uniform and tidy.
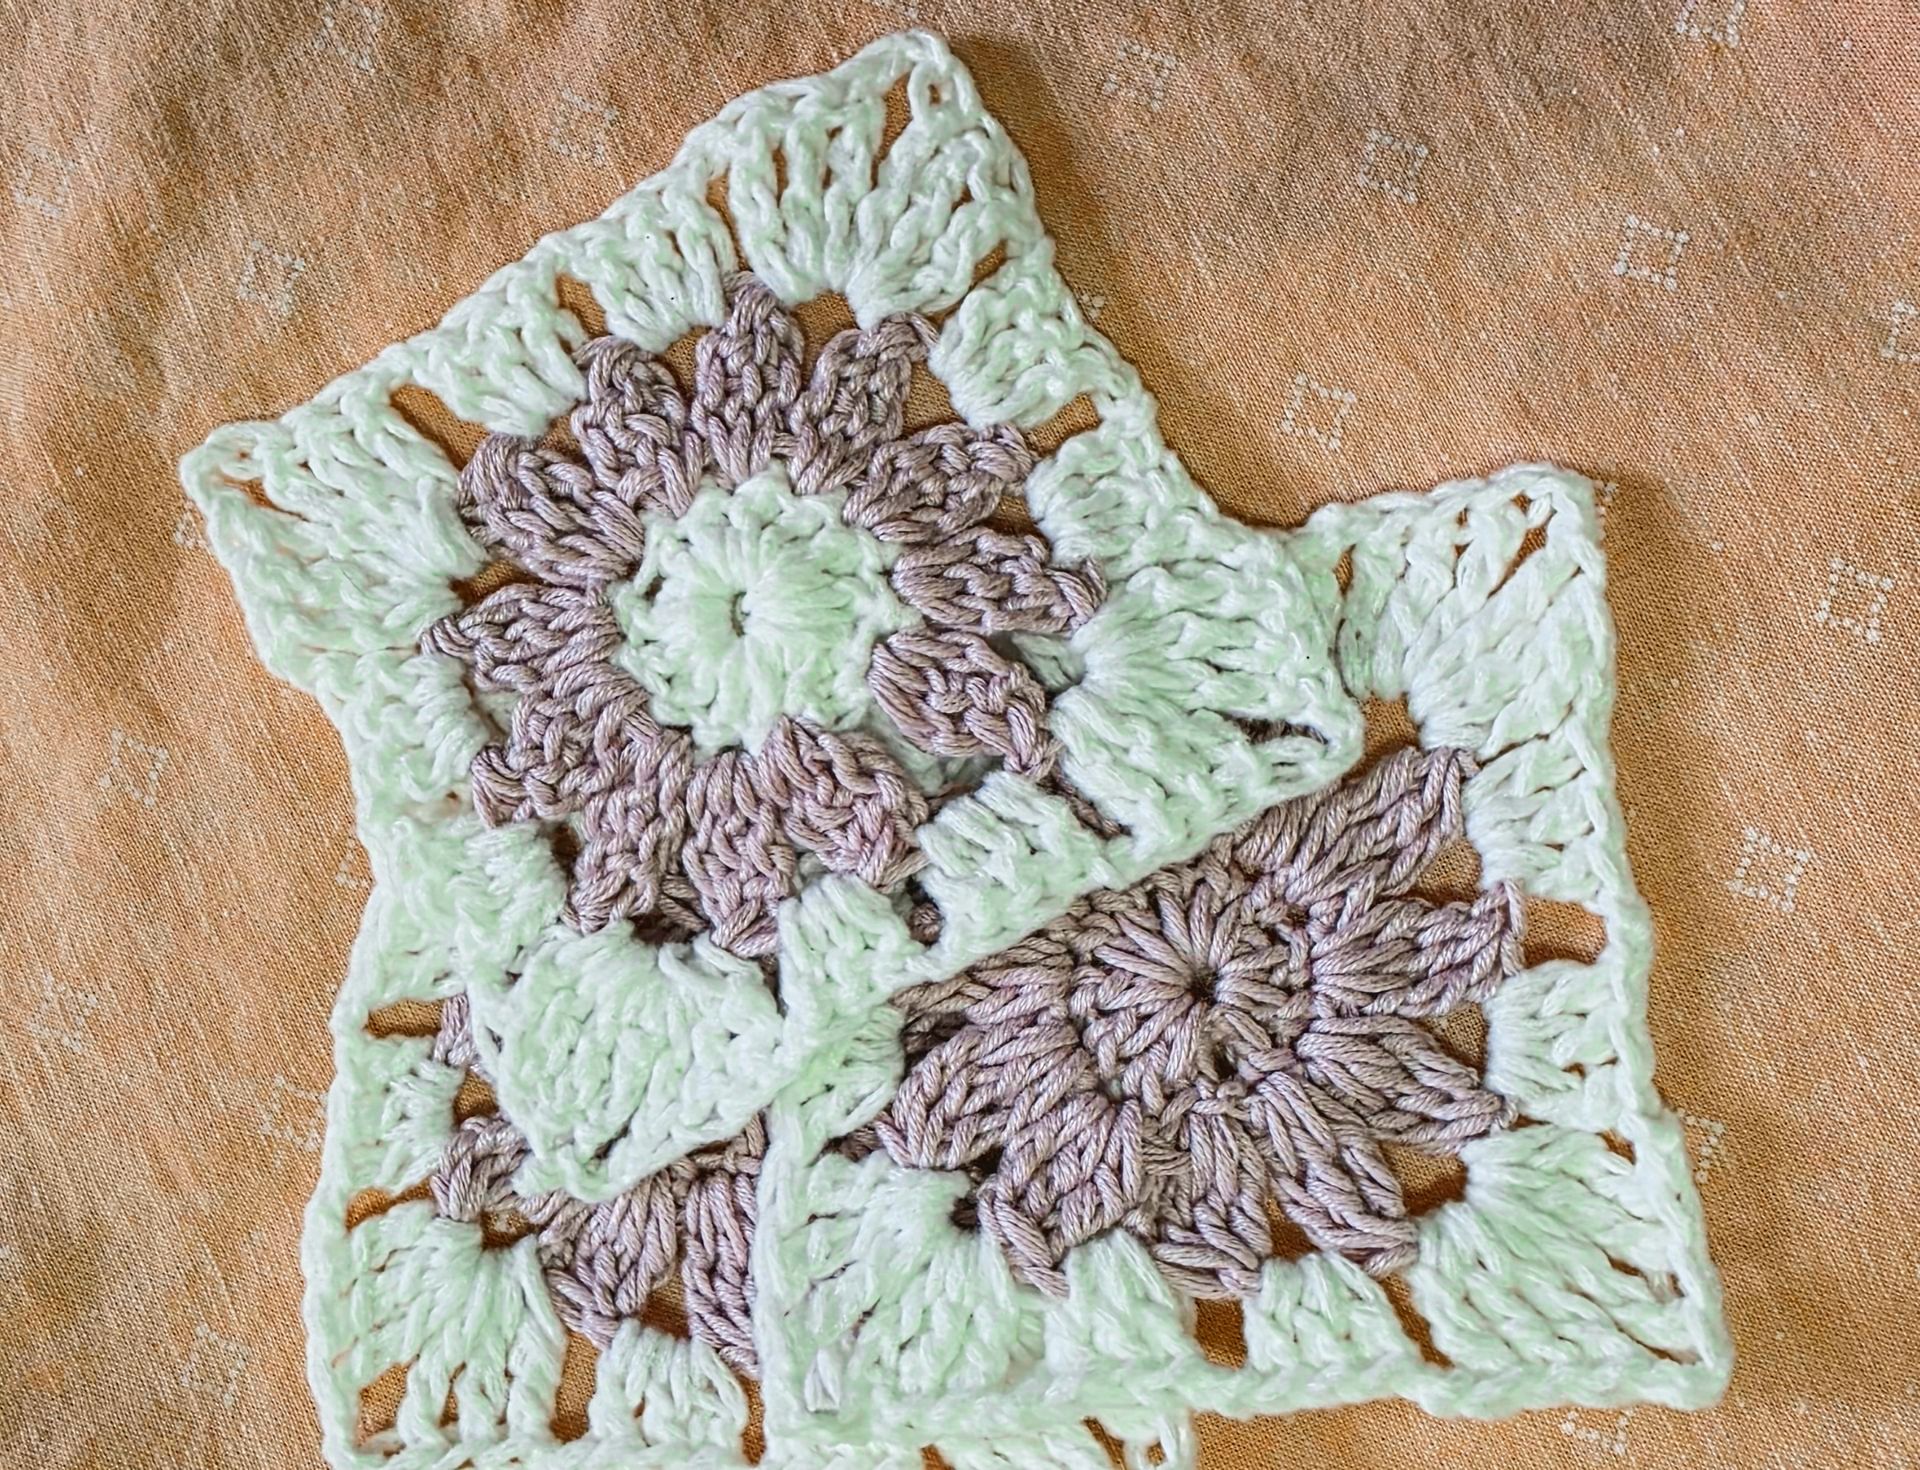
● Shape your project: It makes your edgest crisp and defines corners, especially important for squares and geometric shapes.
● Open up lace patterns: If you're working with a lacy design, blocking will open up and
relax those intricate stitches.
● Set the size: It helps to ensure all your granny squares are the same size, making joining much easier.
How to Wet Block Your Crochet Projects:
Wet blocking is a popular and effective method for most yarns (especially natural fibers like
cotton and wool).
You'll Need:
● A basin or sink with cool water
● Blocking mats (foam mats with grids are ideal) or a thick towel
● Rust-proof pins
● A fan or open area for drying
Steps:
1. Wet Your Project: Gently submerge your crochet project in cool water. Make sure it's fully
saturated. You can add a tiny bit of wool wash if you like, but it's not essential.
2. Squeeze Out Extra Water: Gently squeeze the water out of your project. Do not wring
or twist, as this can mess up your stitches. You can roll it in a clean towel and press
firmly to absorb more water.
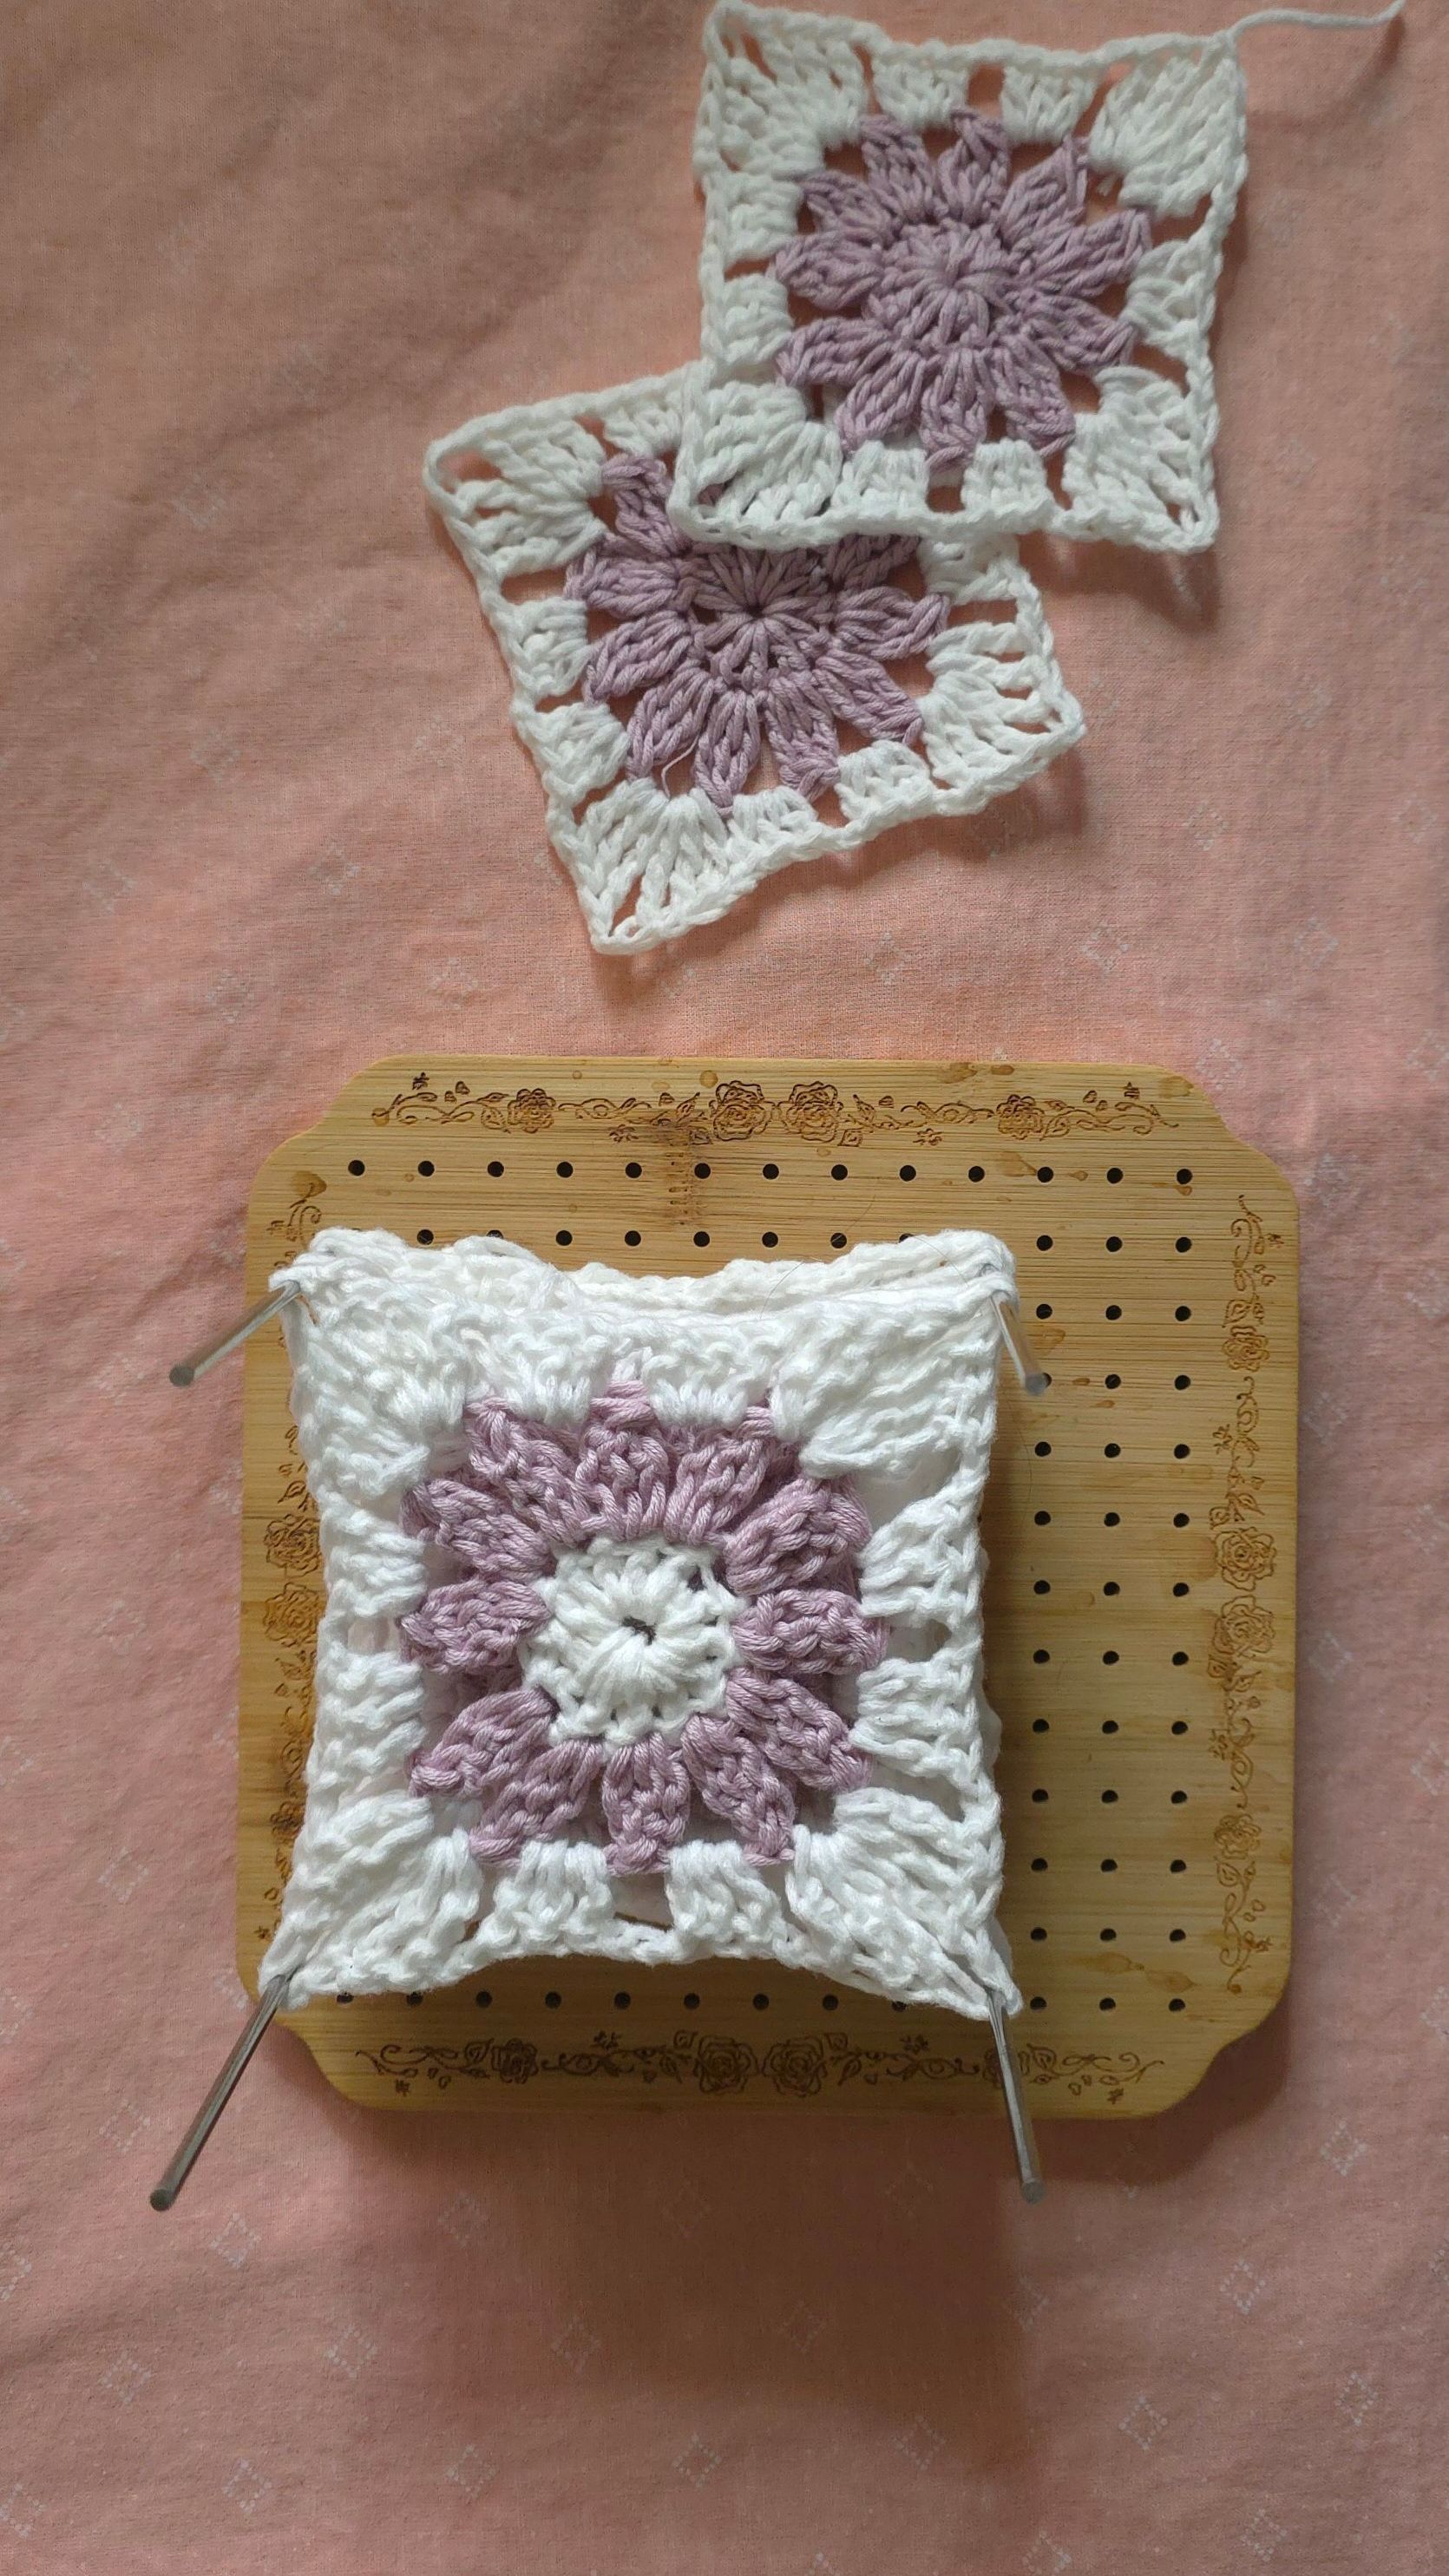
3. Shape and Pin: Lay your damp project flat on your blocking mats or thick towel. Gently
stretch and shape it to the desired dimensions. For granny squares, you'll want to ensure
all sides are straight and all corners are pointed. Use your rust-proof pins to secure the
edges of your project to the mat, pulling very gently to shape.
4. Let it Dry: Leave your project to air dry completely. This can take anywhere from a few
hours to overnight, depending on the yarn and humidity. You can use a fan to speed up
the drying process.
5. Unpin and Enjoy! Once your project is completely dry, carefully unpin it. You'll be
amazed at the transformation!
Other Ways to Block Your Crochet Projects:
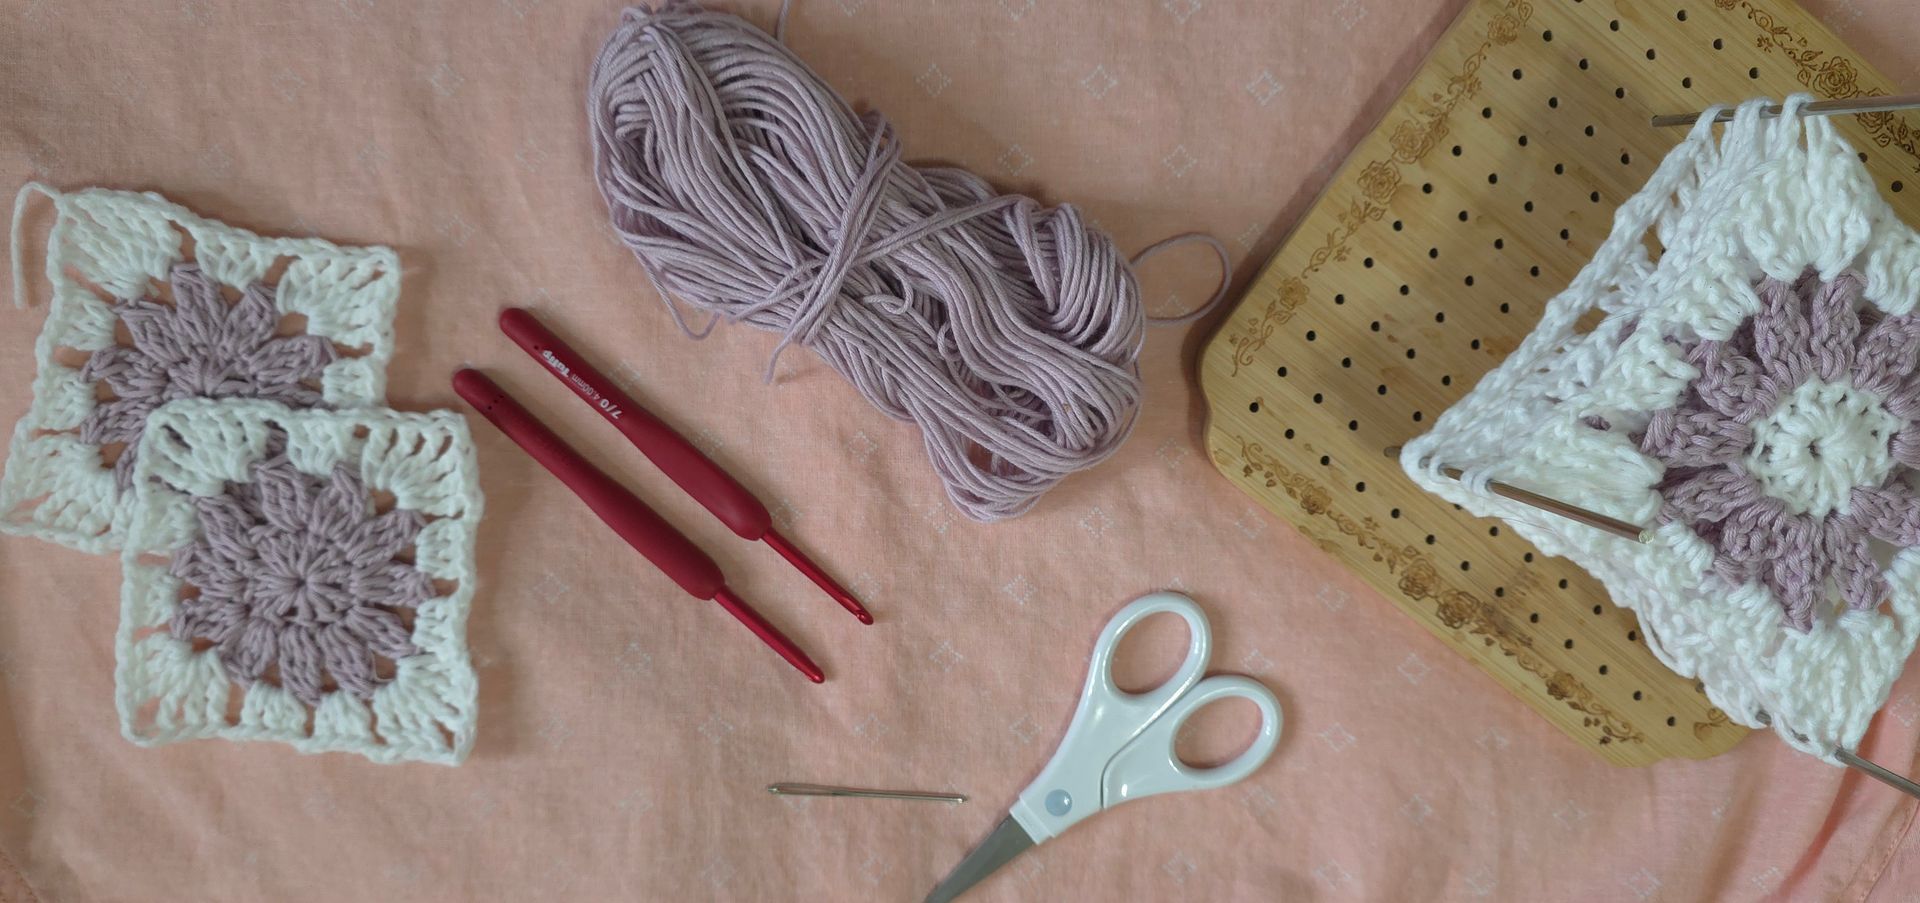
- Wood blocking boards can work great as well. You can pin your project to the board and just give it a spritz of water or stiffener spray.
- The Iron Method involves laying your project flat and holding the iron slightly above your project while using the steam setting. Do not touch the iron down on your project, or you may end up in tears.